Digital Display Menus
Video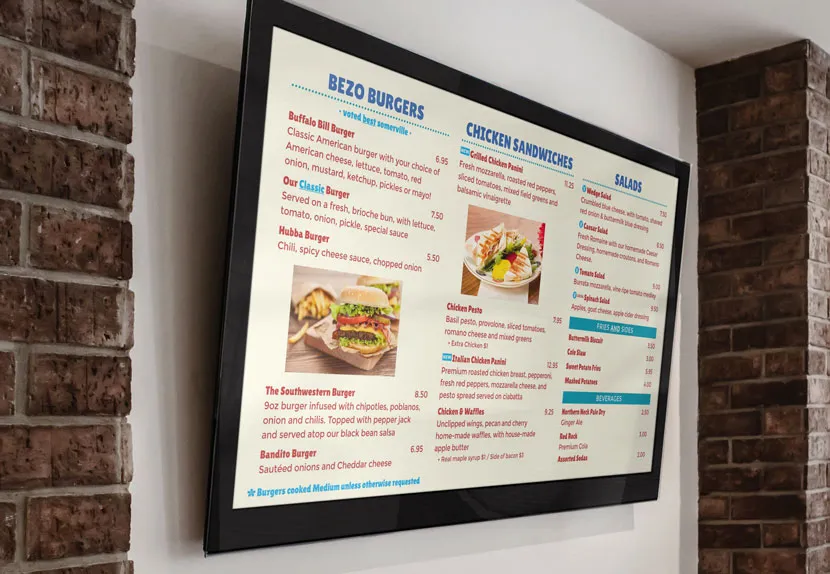
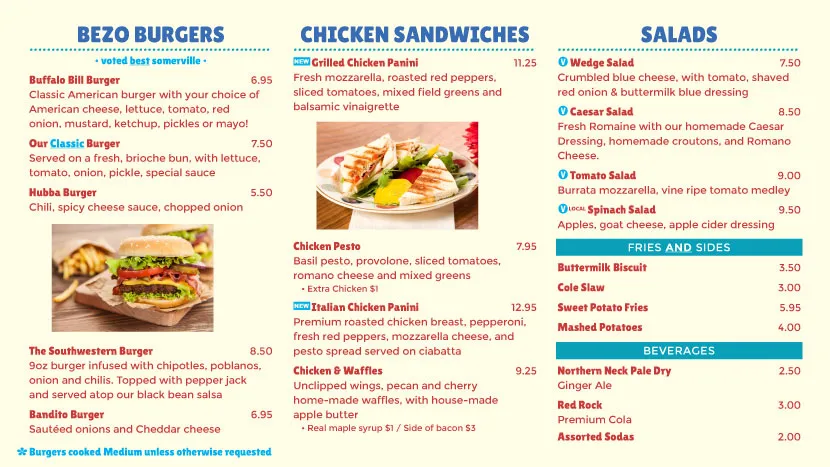
Digital menu boards create a professional, modern impression while allowing you to update prices, specials, and seasonal items instantly. They’re perfect for restaurants, cafes, bars, spas, salons, and any business that wants to showcase offerings dynamically.
USB Digital Menu Boards
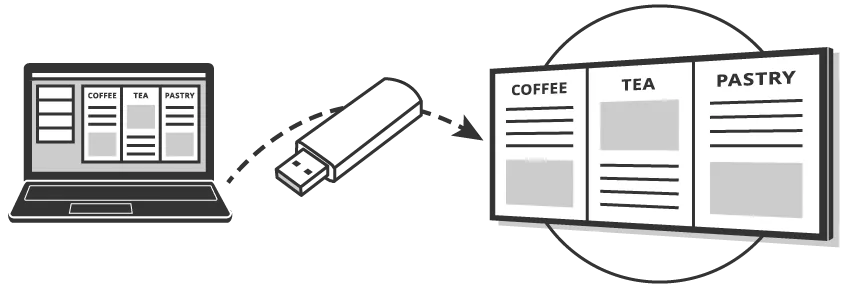
If you already have a flat-panel TV (or are planning to purchase one), you can easily turn it into a stunning digital menu board with just a USB thumb drive. This method is:
- Extremely cost-effective - just $5-10 for a USB drive
- Universal - works with most modern TVs
- Simple to set up - no technical expertise needed
- Easy to update - just replace the file on your USB
Perfect for displaying daily specials, seasonal offerings, or your complete menu without expensive digital signage systems or ongoing service fees. Create, update, and display your menu on your own schedule.
Create Your USB Digital Menu in 9 Easy Steps
-
Create a new menu: Start with a new blank menu using
File > New Menu -
Set up for TV display: Use
File > Page Setupand select:Paper Size > HDTVOrientation > Landscape(best for most TV displays)
-
Choose your layout: Most digital menus look best with columns:
- Go to
Design > Switch Menu Styles > In this many columns - Choose
3columns (or adjust to fit your content needs)
- Go to
-
Design your menu: Create your menu with these digital display tips:
- Use larger fonts (TV viewers may be further away)
- Add high-quality images (they’ll look great on HD screens)
- Create clear sections with bold headings
- Consider your TV’s aspect ratio when designing
-
Save your work: Use
File > Rename Menuto give it a name andFile > Save Menu -
Export as image: Create a JPG file with:
Tools > Create JPG- Select format option
Highquality - Click
Create
-
Save to your computer: When the JPG appears in a new browser tab:
- Click the
save pagebutton (or right-click and select “Save Image As”) - Note where it’s saved or drag it to your desktop
- Click the
-
Copy to USB drive: Transfer the JPG file to a USB flash drive. If you don’t already have one, they’re available at Best Buy, Walmart, or Amazon for just a few dollars.
-
Display on your TV:
- Plug the USB drive into your TV’s USB port
- Use your TV remote to navigate to USB or Media input
- Select and display your menu image
- Some TVs have a “slideshow” option for rotating multiple images
Video: Turn your menu into a digital menu board with USB
What size TV works best for digital menus?
Most businesses use 32”-55” TVs depending on viewing distance. For best results, use a TV with at least 1080p resolution.
Can I display multiple menus on one TV?
Yes! Create separate JPG files for each menu and use your TV’s slideshow feature (if available) to rotate between them.
How do I update my menu once it’s on display?
Simply make your changes in iMenuPro, create a new JPG, and replace the file on your USB drive.
Can I schedule different menus for different times of day?
With the USB method, you’ll need to manually change menus. With the iPad method, you can use scheduling apps (such as Kiosker Pro) to automatically change what’s displayed at specific times.
Live-Sync Digital Menu Boards
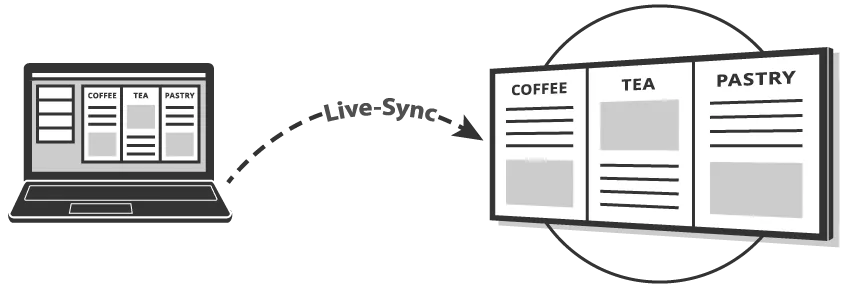
If you already have a flat-panel Display or TV, you can easily turn it into a stunning digital menu board with Live-Sync. This method is:
- Extremely cost-effective - $0 if you already own the Display
- Universal - works with most modern TVs
- Simple to set up - not much technical expertise needed
- Easy to update - just re-sync in iMenuPro and refresh the browser on the Display
Create a Digital Menu Board using Live-Sync in 8 Easy Steps
Follow these steps create a Live-Sync Digital Menu Board
-
If you don’t already have a menu, start a new blank menu with
File > New Menu -
Use
File > Page Setupto set the correct menu size for your Digital Display or TV. This will depend on which model you own, but for most (classic ratio of 16:9) choosePaper Size > HDTV. -
Now create your menu as you normally would and keep it to a single page.
Enable Print-Alike
-
To exactly match the look of your printed menu on your Digital Display use
Tools > Live-sync menu, click theSyncbutton to create a live-sync menu, then check the box that saysEnable Print-Alike. Then click thePrint-Aliketab that appears. -
Next click the
QR legacylink at the top. Even though you’re not using this QR, you’re going utilize the Public link feature here.
Set up your Display
-
Launch a browser on your display and enter the Print-Alike’s Public link text into the browser’s URL bar. This will display your Print-Alike menu on your display.
-
To hide the browser URL bar, some display browsers have an option to choose Full Screen. Usually it’s F11 (for PC/Chrome based systems) or ⌘ Shift F (for Mac based systems)
-
Now, whenever your menu is updated, just exit Full Screen, refresh the browser link on the display, and go back to Full Screen to get the latest changes.