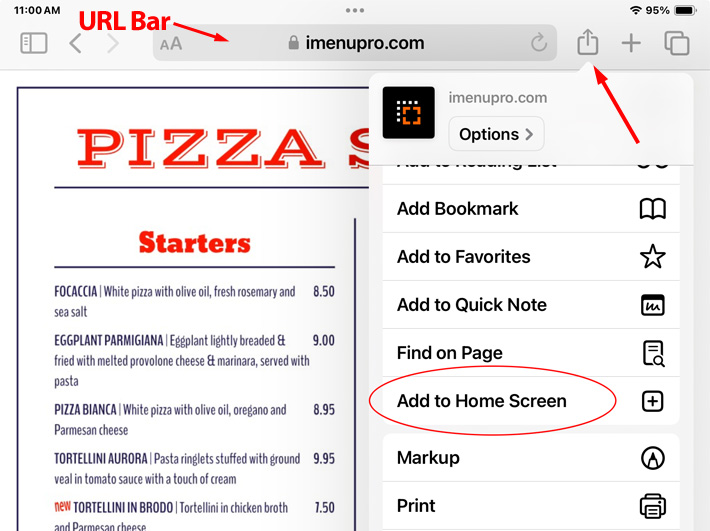
Share option with Add to Home Screen highlighted
If you want to transition from paper menus to digital iPad menus, or want both at the same time, all you need are the iPads.
By utilizing iMenuPro’s Live-Sync Print-Alike, you can convert your printed menu into a digital iPad menu in just a few steps. Since iPad menus are digital, you can update your menu without needing to reprint.
Follow these steps create a digital iPad menu using Live-Sync
If you don’t already have a menu, start a new blank menu with File > New Menu
Use File > Page Setup to set the correct iPad menu size. This will depend on which model iPad you own, but for most like the Classic iPad or 10.9“ iPad, choose Paper Size > Custom and enter 8.5" for the Custom Width and 11.98" for the Custom Height. This will fill the iPad screen.
Now create your menu as you normally would. If you don’t want your menu to scroll, make sure it fits onto a single page. But you can also have multiple pages and allow your customers to scroll by swiping.
To exactly match the look of your printed menu on your iPad, use Tools > Live-sync menu, click the Sync button to create a live-sync menu, then check the box that says Enable Print-Alike. Then click the Print-Alike tab that appears.
Next click the QR legacy link at the top. Even though you’re not using this QR, you’re going utilize the Public link feature here.
On your iPad launch Safari and copy the Print-Alike Public link into Safari’s URL bar. This will display your Print-Alike menu on your iPad. But Safari’s URL bar will still be visible.
To hide the URL bar, create a menu app icon which will a) allow you to launch the menu quickly and b) hide the Safari URL address bar. To create the app icon, while viewing the Public menu link in Safari, click the Share icon (page with up-arrow) at the top of screen and choose Add to Home Screen.
Share option with Add to Home Screen highlighted
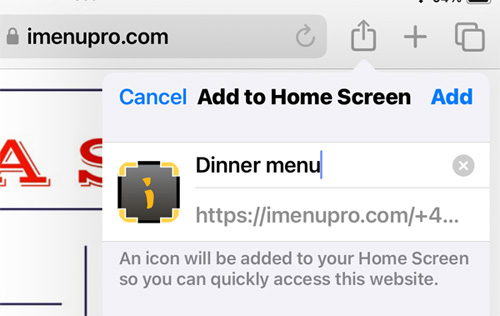
Name your menu app icon
![]()

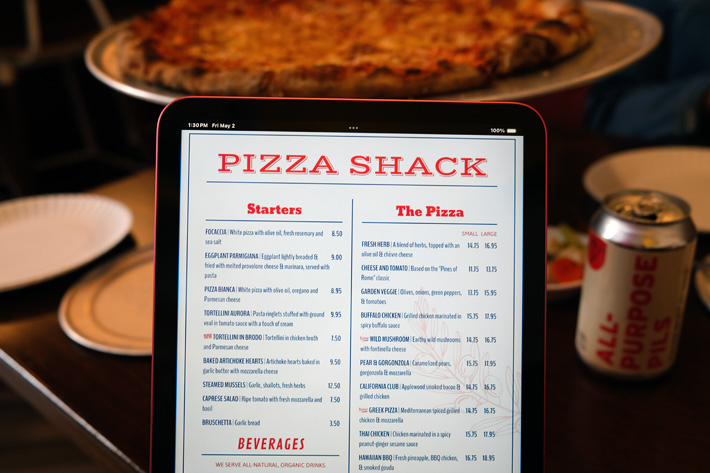
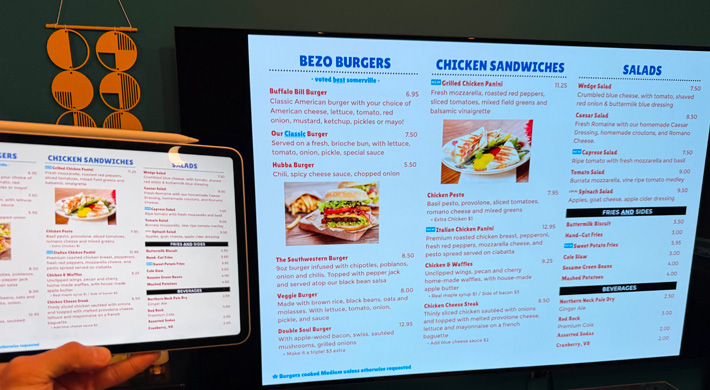
iPad Menu displayed with Safari URL Address bar hidden
Mobile menus can also be displayed on your iPad as digital menus. All the steps above are the same - just use the Mobile Public link as opposed to the Print-Alike Public link.
For Mobile menus you can include heading navigation tabs or hide them - it’s an option within the app.

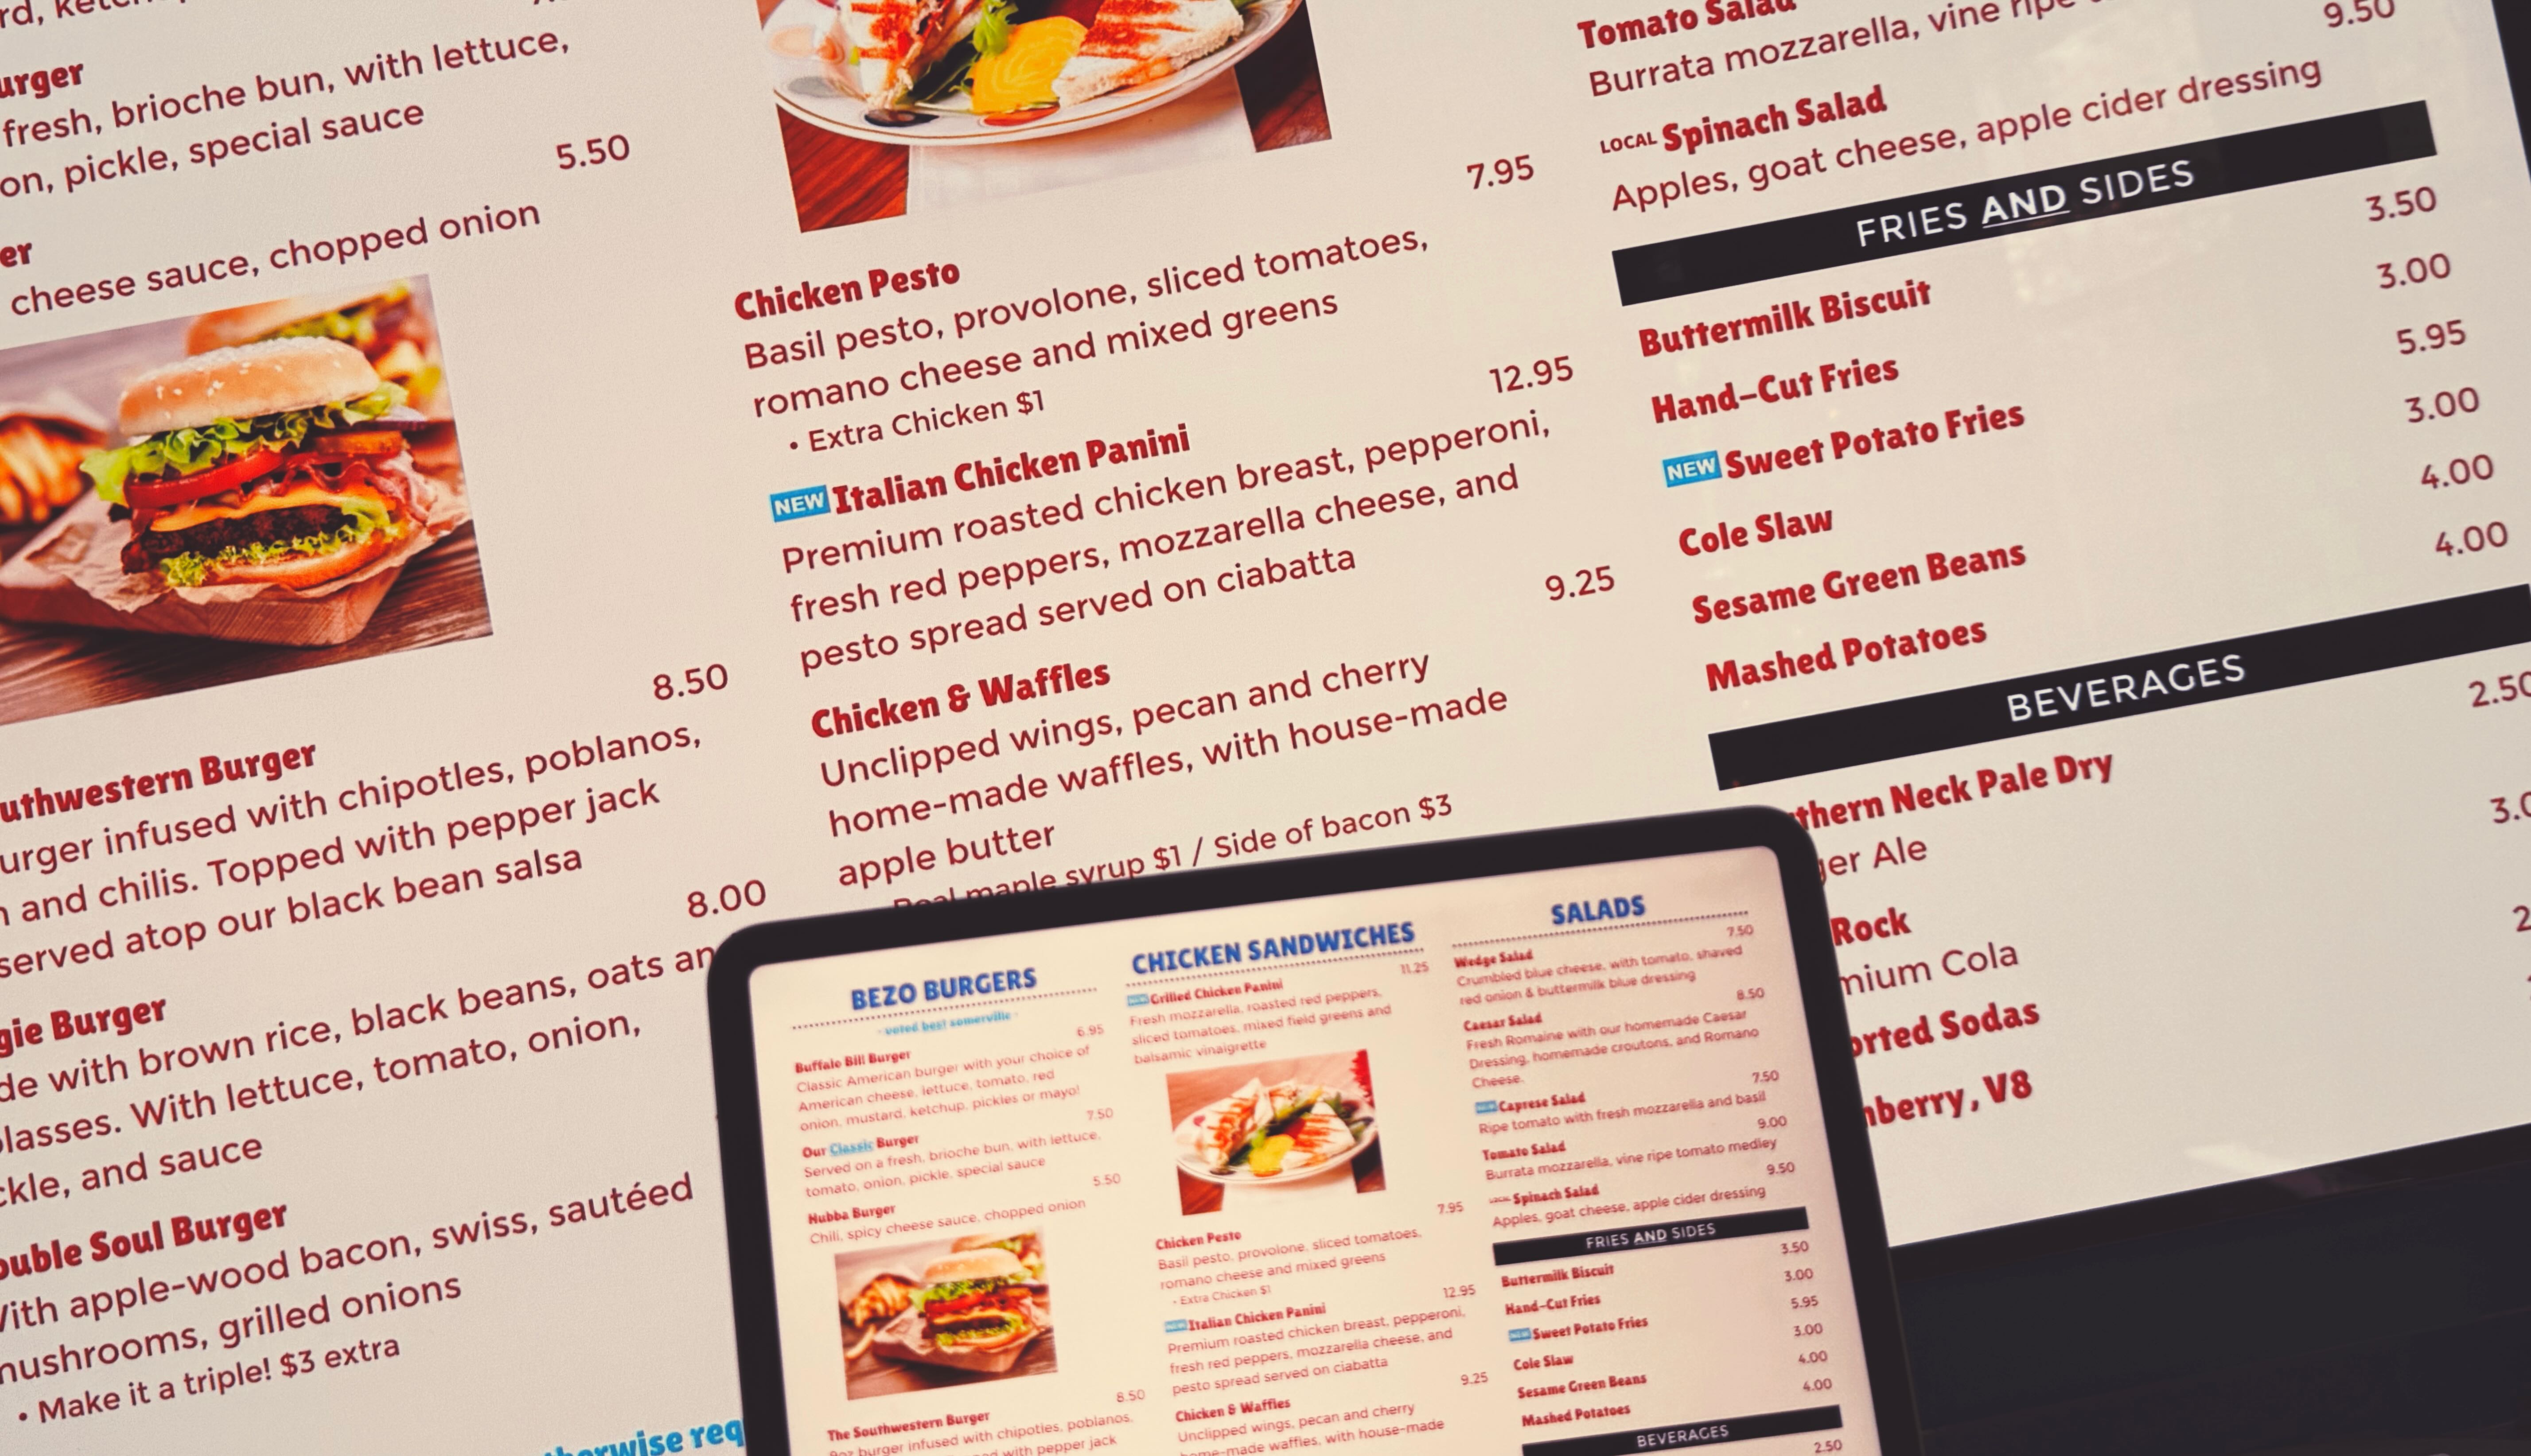
iPad Menu displayed using Live-Sync Mobile menu
Kiosk mode aka Guided Access is ideal if you want a simple way to lock the iPad to one app without additional infrastructure or cost. For the most up-to-date instructions on how to do this, visit Apple’s support site since these instructions might change in the future.
Apple Support for Guided AccessTo enable Kiosk mode do the following:
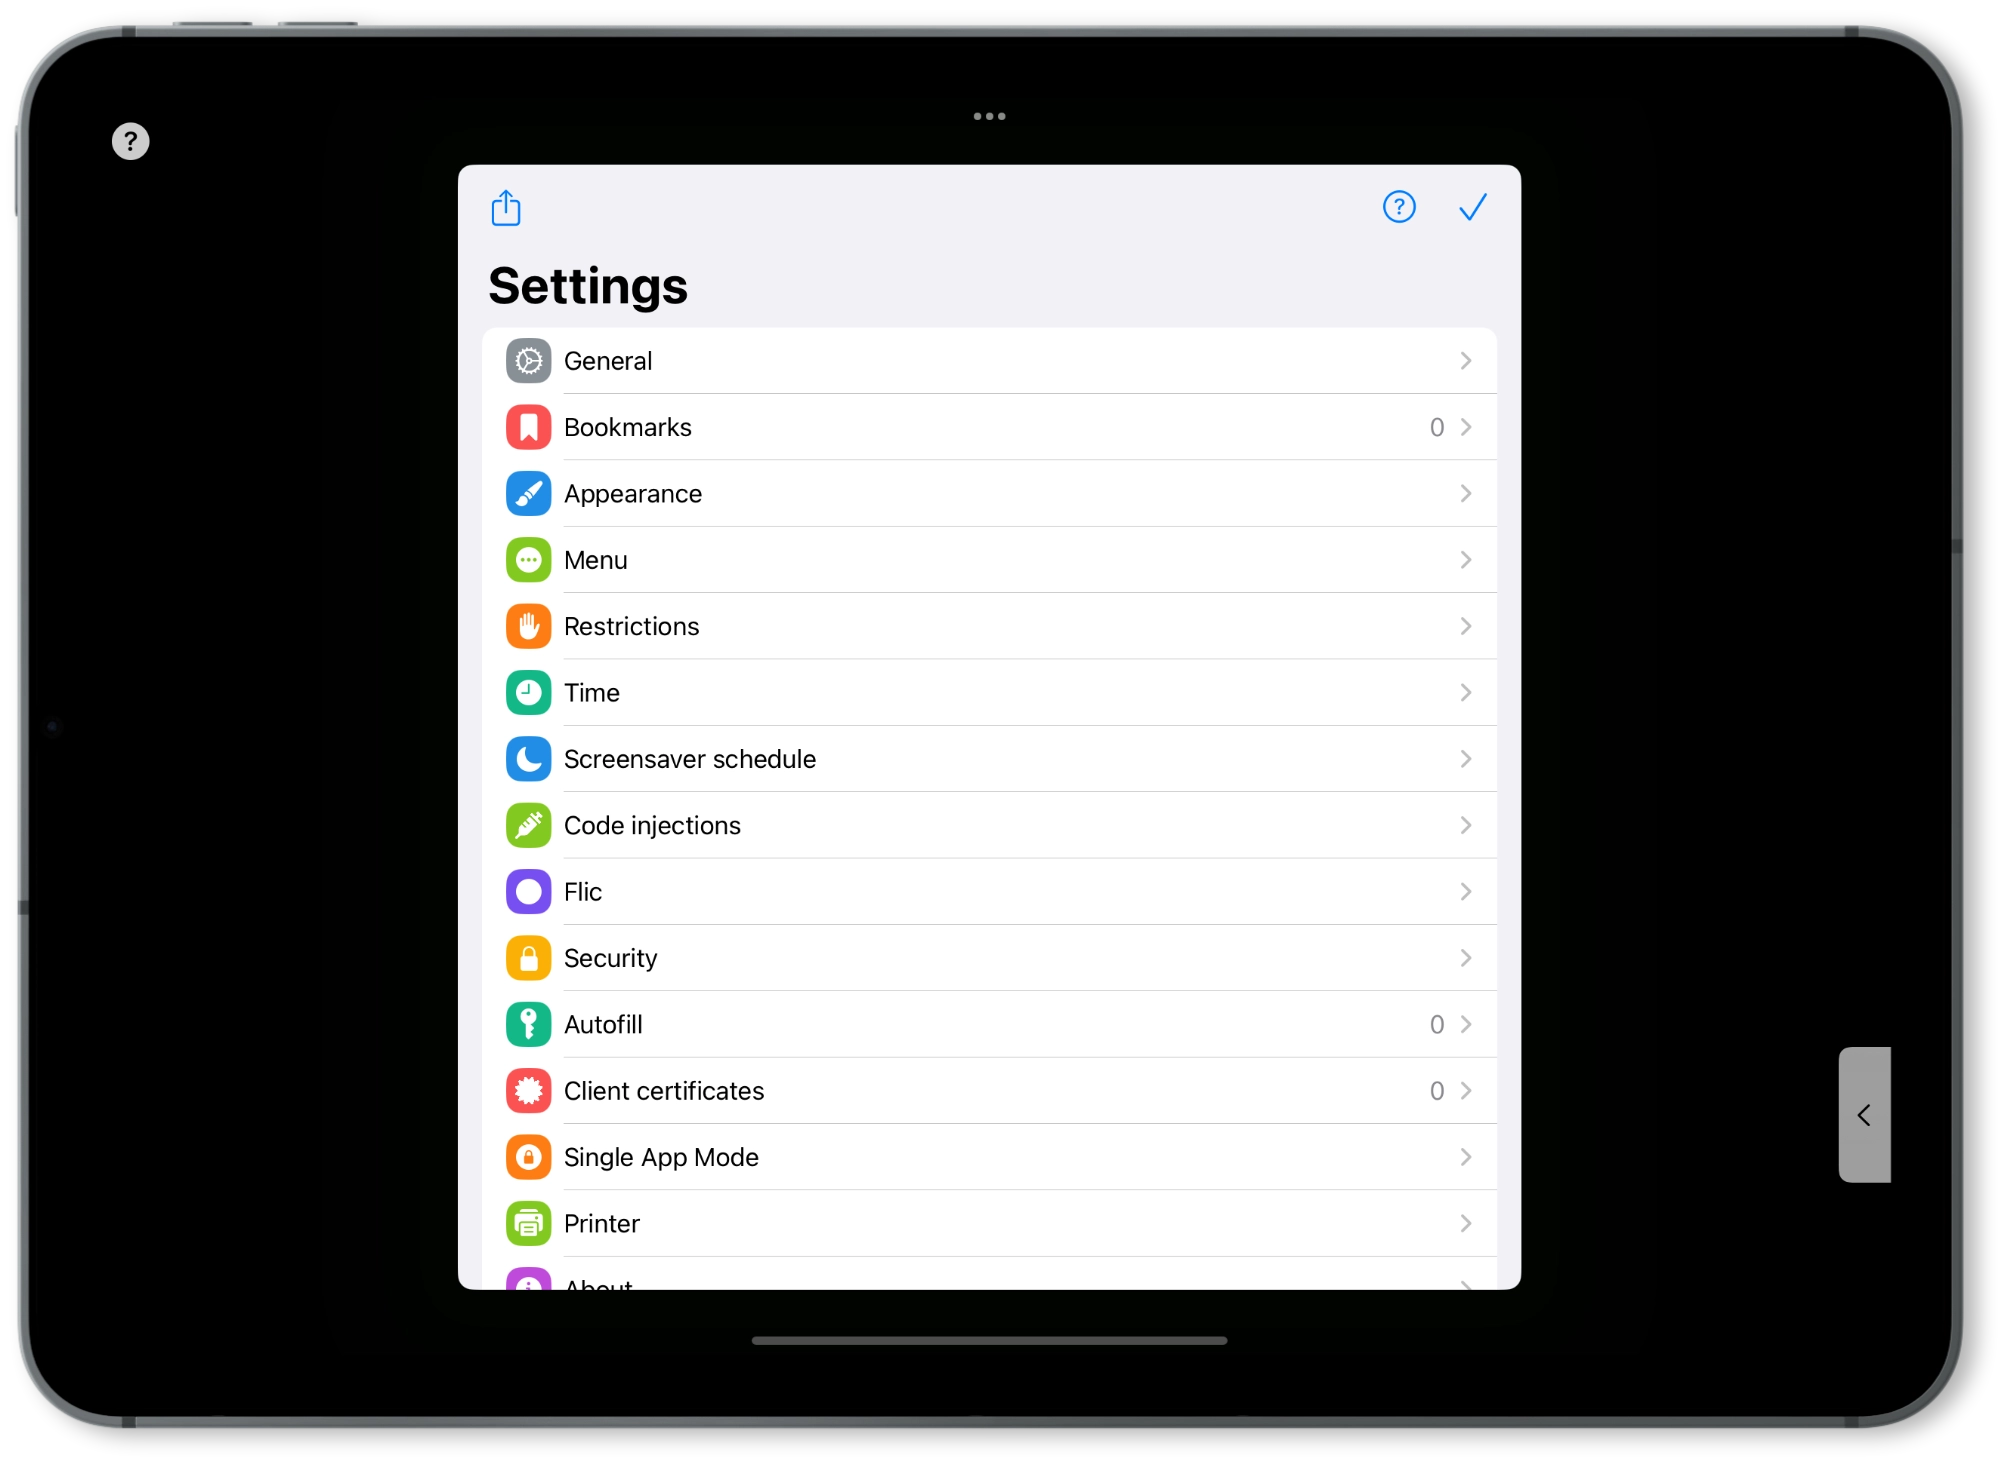
Enable Guided Access. On your iPad open Settings > Accessibility > Guided Access. Then turn on Guided Access Next tap Passcode Settings > Set Guided Access Passcode to enter a secure passcode, and (optionally) enable Face ID or Touch ID to end sessions. PLEASE REMEMBER THIS PASSCODE TO NOT BE LOCKED OUT OF YOUR IPAD.
Start a Guided Access Session: Launch the iMenuPro menu from the app icon you have created. On iPads with a Home button, triple-click the Home button; on Face ID models, triple-click the Top button. This will start the Guided Access session (aka put you into Kiosk mode). At this point your customer can’t do anything on the iPad except view the menu.
Set the Access Options: Triple click the Top Button and tap Options (lower left), then disable all options. For example Touch, Motion, etc., then tap Resume. Note: If your Print-Alike menu is more than one page or your using a Mobile menu do not disable Touch, else the customer will not be able to scroll.
End a Session: Triple-click the Home/Top button again, enter your Guided Access passcode (or use Face/Touch ID), and tap End (upper left).
(Optional) Battery & Power: Keep iPads plugged into a continuous power source; if unattended power is unreliable, consider a power-management accessory OR disable auto-sleep in both Guided Access and Configurator settings.
Already created your iPad menu? Great! You can easily display it on larger screens with the methods below:
Connect your iPad directly to your television using a cable.
Modern iPads with USB-C ports make connection simple.
If the charge cable that came with your iPad isn’t compatible with the port on your display, TV, or projector, do the following:
Plug a USB-C Display AV Adapter or USB-C VGA Multi-port Adapter into the charging port on iPad.
Connect an HDMI or VGA cable to the adapter.
Connect the other end of the HDMI or VGA cable to the display, TV, or projector.
If necessary, switch to the correct video source on the display, TV, or projector. If you need help, use the display’s manual.
Follow the instructions at the top of this page for Create a Menu (starting at step 4).
See the Apple Support article Charge and connect with the USB-C port on your iPad.
If your iPad has the older Lightning port, follow these steps:
Plug a Lightning Digital AV Adapter or Lightning to VGA Adapter into the charging port on iPad.
Connect an HDMI or VGA cable to the adapter.
Connect the other end of the HDMI or VGA cable to the display, TV, or projector.
If necessary, switch to the correct video source on the display, TV, or projector. If you need help, see the manual that came with your display.
For a wire-free setup, use screen mirroring to display your menu. This works with Apple TV and AirPlay-compatible smart TVs.
Requirements:
On your iPad with iPadOS 13 or later: Swipe down from the upper-right corner of the screen. (On iPhone 8 or earlier or iOS 11 or earlier: Swipe up from the bottom edge of the screen.)
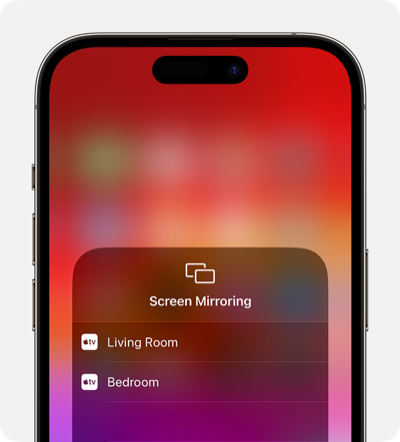
Tap the Screen Mirroring button in the Control Center.
The Screen Mirroring button appears highlighted among the Control Center modules. Select your TV or Mac from the list.
Available devices appear for selection under Screen Mirroring.
Once your menu is showing on screen, these tools will help create a polished, professional display experience:
Follow our simple guide here to activate Apple’s built-in Kiosk Mode (Guided Access). This locks your iPad to display only your menu, preventing:

Various third-party tools allow you to put your iPad in fullscreen mode, cycle through pages, PDFs, and more. Kiosker Pro: Web Kiosk is one such utility you can use to display your digital live-sync menu.
Kiosker offers many options to customize how your menu can be displayed.
To use Kiosker Pro with iMenuPro Live-Sync, you can use the same Live-Sync Public Link URL you used when setting up your iPad menu.
You can also supply a JPG or PDF file directly to Kiosker Pro. Simply upload your files (the ones you used when setting up your USB Menus to the Kiosker Pro dashboard and select the appropriate display settings.
For further instructions on how to use Kiosker Pro, please refer to their documentation