
2 Menu columns with spanning Title heading and ‘Reds’ set to New Page or Column to pin it atop column 2
With iMenuPro you can use columns on any menu. Here are two methods to do that.
Select Design > Switch Menu Styles, then change In this many columns to however many columns you want.
This will put your entire menu into newspaper style columns (Title and subheadings at the top of page 1 automatically span).
2 Menu columns with spanning Title heading and ‘Reds’ set to New Page or Column to pin it atop column 2
Here’s a 5 minute video example of setting up a 2 column menu in landscape orientation.
Select Design > Switch Menu Styles, then change In this many columns to 1.
Then edit any Heading on your menu (except subheadings) and under Layout Tweaks change the Food Columns to 2 or 3.
This will put the foods directly under the heading into columns but leave the heading and the rest of the menu in single column mode.
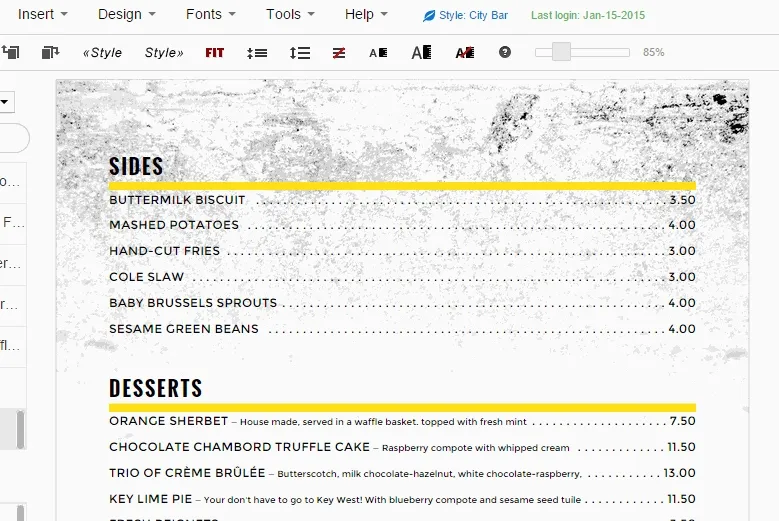
Example of SIDES in Food Columns

Example of SIDES in Food Columns
In order to facilitate the automatic balancing of columns (as in the above example) Food Columns use a left-to-right ordering scheme where your first item goes into the left column, your second item goes into the right column, and so on. So it’s often a good idea to set up the order of the items first, with food columns turned off, and then simply throw the switch to turn them into columns.
For example, a heading with 4 food items like this:
-- Heading --item 1item 2item 3item 4Turns into this if using Food Columns:
-- Heading --item 1 item 2item 3 item 4The two different column methods cannot be mixed together, but there are several spanning options described below that can be used to create variations within each method.