Example of adding space to make room for a logo
To accurately position an image or floating text in iMenuPro, try the following
Use the Grid. If you’re dragging on the menu, try using iMenuPro’s built-in grid to better see the positioning. To turn on the grid, use the View > Grid command. You can choose the color of the grid lines and size of the grid boxes by adjusting the X and Y Units. Check the On Menu box to make the grid appear on your menu and then click OK. To remove the grid when you’re done, uncheck the On Menu box.
Zoom in on the menu. In combination with the grid, the bigger the menu the more accurately you’ll be able to see where things are placed. You can zoom using the Zoom buttons on the toolbar or by using the Zoom slider to the right of the menu commands.
Disable Menu Text. If your images are close to your menu text, to ensure you don’t drag your menu text by mistake, temporarily disable menu text by clicking on zoom percentage value to the right of the zoom slider (a shortcut) or use the command View > Disable menu text. With menu text disabled only images and floating text will be active for dragging and positioning. To re-enable the menu text use View > Enable menu text
Use Right-click, Align At Center. Right-click any image or floating text and select Align at center to perfectly center them within a menu style column or, if you menu has only 1 menu style column, within the page.
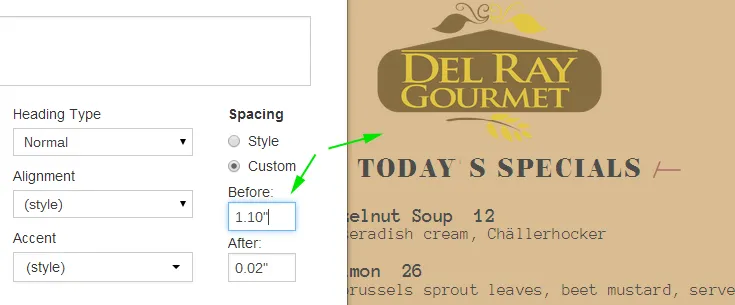
Use Space Before & After. If you need more room for your logo or image, try using the Custom Spacing Before and After values for the items near the logo. For example, if need to move the heading that the logo is next to, edit the Heading and click Custom under Spacing and change the values for Before or After to make more or less room before or after the heading.
Example of adding space to make room for a logo