To quickly change the vertical spacing for all items on the current page, use the Page Spacing buttons
Page Spacing changes the amount of space between menu items (food items and headings) on a single page.
Unlike fixed adjustments, these changes are made proportionally to the existing Before and After spacing values for items that are on the your menu.
You can quickly adjust this proportional spacing by clicking the page spacing icons on the toolbar. This lets you add more or less spacing in a uniform manner to your menu content so it retains its design aesthetics and fits onto a particular page. The toolbar buttons also let you see the changes in real-time on your menu page after each click.
To quickly change the vertical spacing for all items on the current page, use the Page Spacing buttons
The amount of spacing applied to a particular page appears at the top status bar next to Spacing:. A value of 0.0 means no page spacing is being applied to the current page. A negative number means the page spacing is being shrunk. A positive number means the page spacing is being expanded.
Page Spacing changes made with the toolbar buttons are applied in increments of your choice using Tools > iMenuPro Settings. There you set the amount applied per each click of the toolbar buttons.
To set an exact Page Spacing value on the current page you are viewing, use the Tool > Page Spacing command. The allowed range is from -0.20 to 2.0. The toolbar buttons usually provide better feedback however, since page spacing can vary from style to style.
Click the Shrink Spacing button on the toolbar or use the Tools > Page Spacing command.
Click the Expand Spacing button on the toolbar or use the Tools > Page Spacing command.
Click the Reset Spacing button on the toolbar or use the Tools > Page Spacing command. Note: Switching Menu Styles also resets the page spacing.
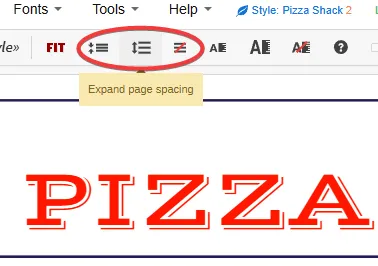
Click Expand Page Spacing on the toolbar to “expand” the white-space